Seeking to have your invoices paid in bitcoin or cryptocurrency and keep your customers happy with an intuitive way to pay? CheckYa (Formerly PeachPay) invoicing is the best solution to this. Let your customers, freelancers, small businesses, and suppliers easily pay or get paid in multiple cryptocurrencies by sharing invoices through the CheckYa.
This guide will show you how to;
• Link your Coinbase account to CheckYa
• Compose an invoice for goods or services
• Collect payment of the invoice in cryptocurrency
Step 1) Link your Coinbase account to CheckYa
If you need a CheckYa account follow this how to guide.
If you don’t have a Coinbase commerce account follow this how to guide.
In order to accept cryptocurrency payments in CheckYa you must find the API key in your Coinbase Commerce account and paste it into your CheckYa settings.
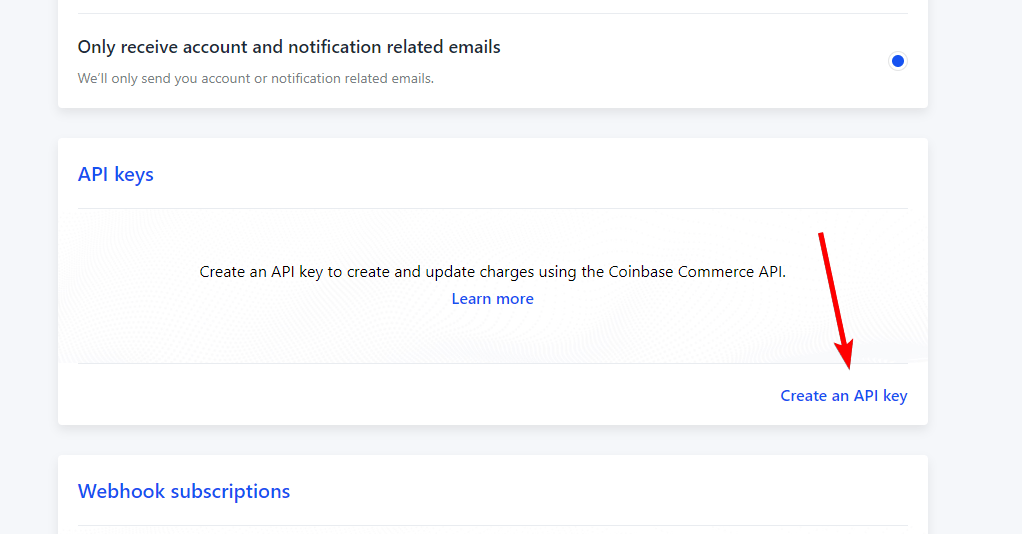
Navigate to Settings on Coinbase Commerce and scroll to the API keys section and click Create an API key.
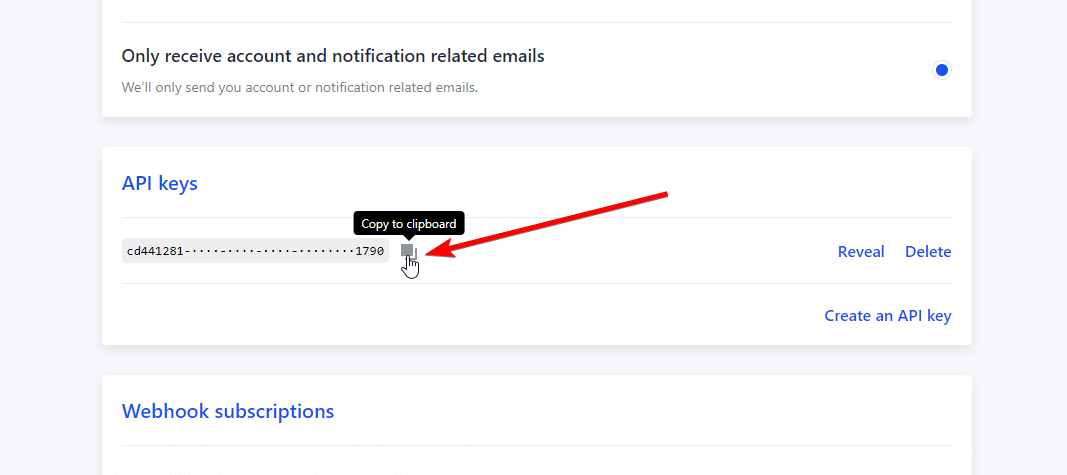
Click the Copy to Clipboard icon and paste the API key into the Coinbase Commerce API Key field in the settings menu of CheckYa.
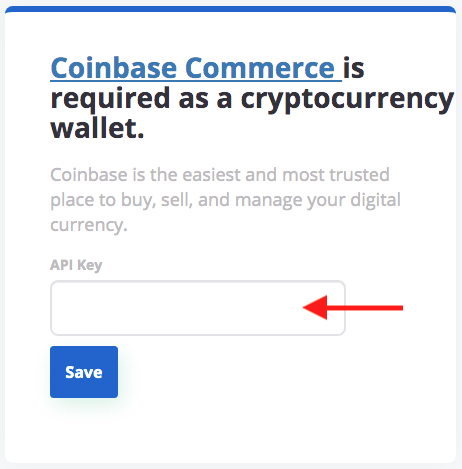
On the invoice dashboard click the panel on the right;

Here in settings is the place to paste your API key. Paste it in and press save;
Step 2) Compose an invoice for goods or services
The first thing to do now that you have linked your Coinbase account is to compose an invoice. Click on the ‘Add new invoice’.

For freelancers and small businesses, the invoicing application of CheckYa will be indispensable. You can quickly and easily send a professional invoice following these simple steps;
Add the details of the first client. Click ‘Add customer’ and fill in the form.

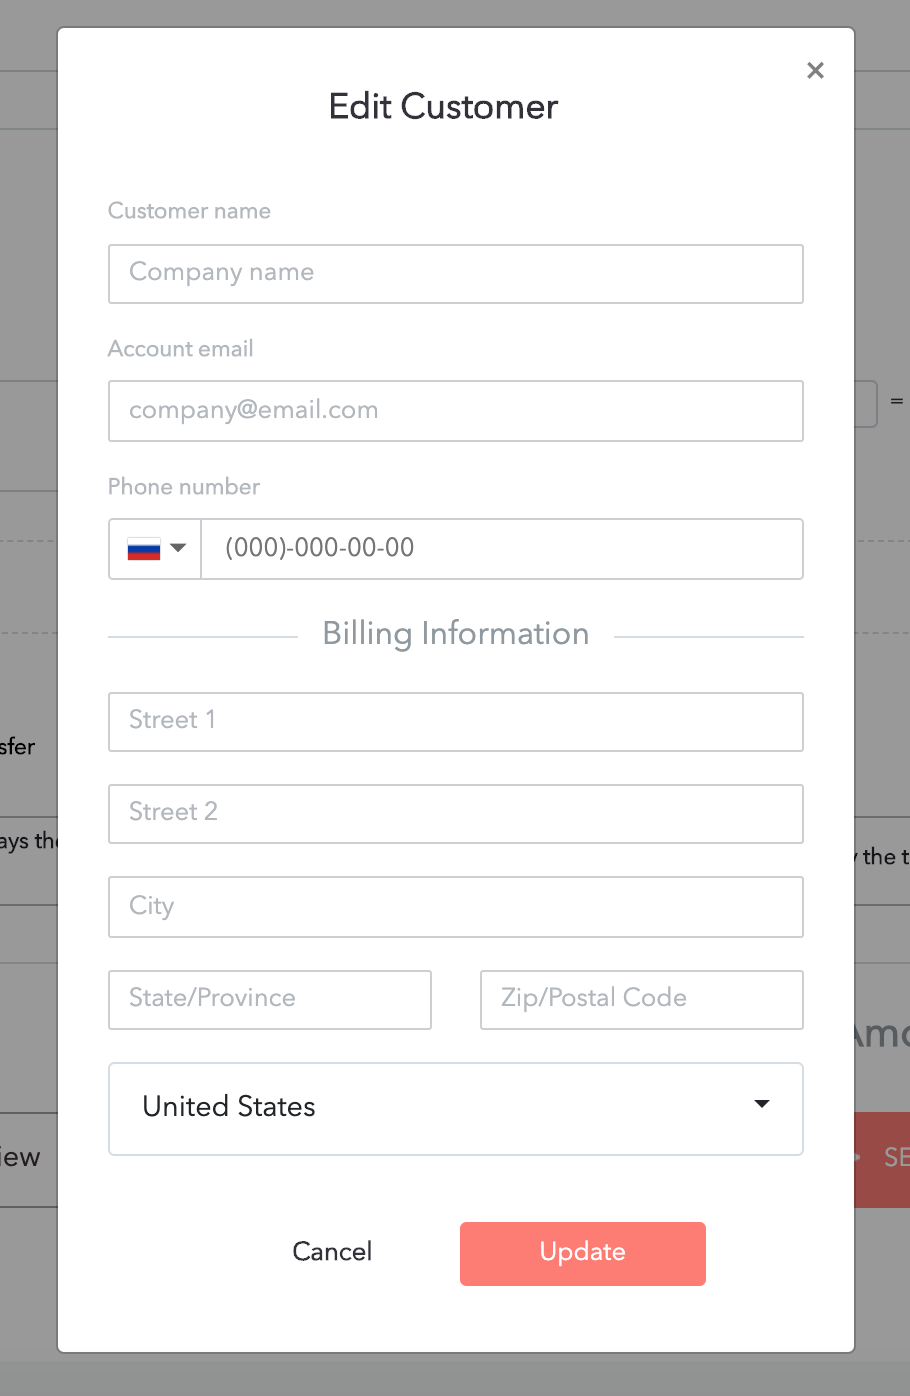
Save the client info and select the client from the drop-down menu;

Now optionally fill out the project name. From the drop-down menu select the date the payment is due. Optionally the clickbox to the right of the due date sends a reminder email 48 hours before the invoice is due. If necessary you can add a message for your client. Then list the goods or services billable.
So long as you have connected a Coinbase account you will be able to accept payment in various cryptocurrencies. You can choose to offer the client cryptocurrency payment option by ticking the box. If the tick box is greyed out, you need to enter your Coinbase API key in settings.

Now there are processing fees associated with transactions. You have the option to either pay those fees yourself, split them with the client or have the client pay all the fees. Select your option.
Finally, you can send the invoice by clicking send.
Step 3) Collect payment of the invoice in cryptocurrency
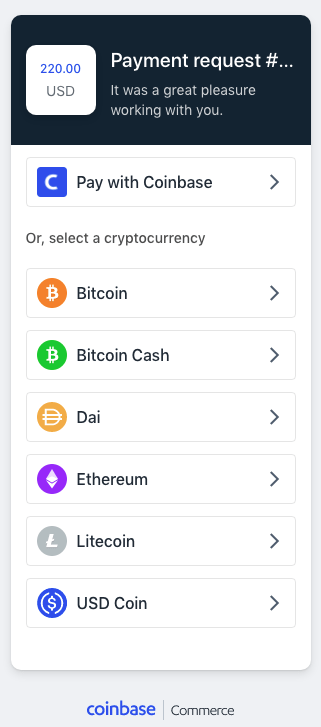
After your customer receives your invoice via email they will have the option to pay you in Bitcoin BTC, Ethereum ETH, and a number of other smaller currencies. Your funds will be deposited into your Coinbase account.

The email will look like this;
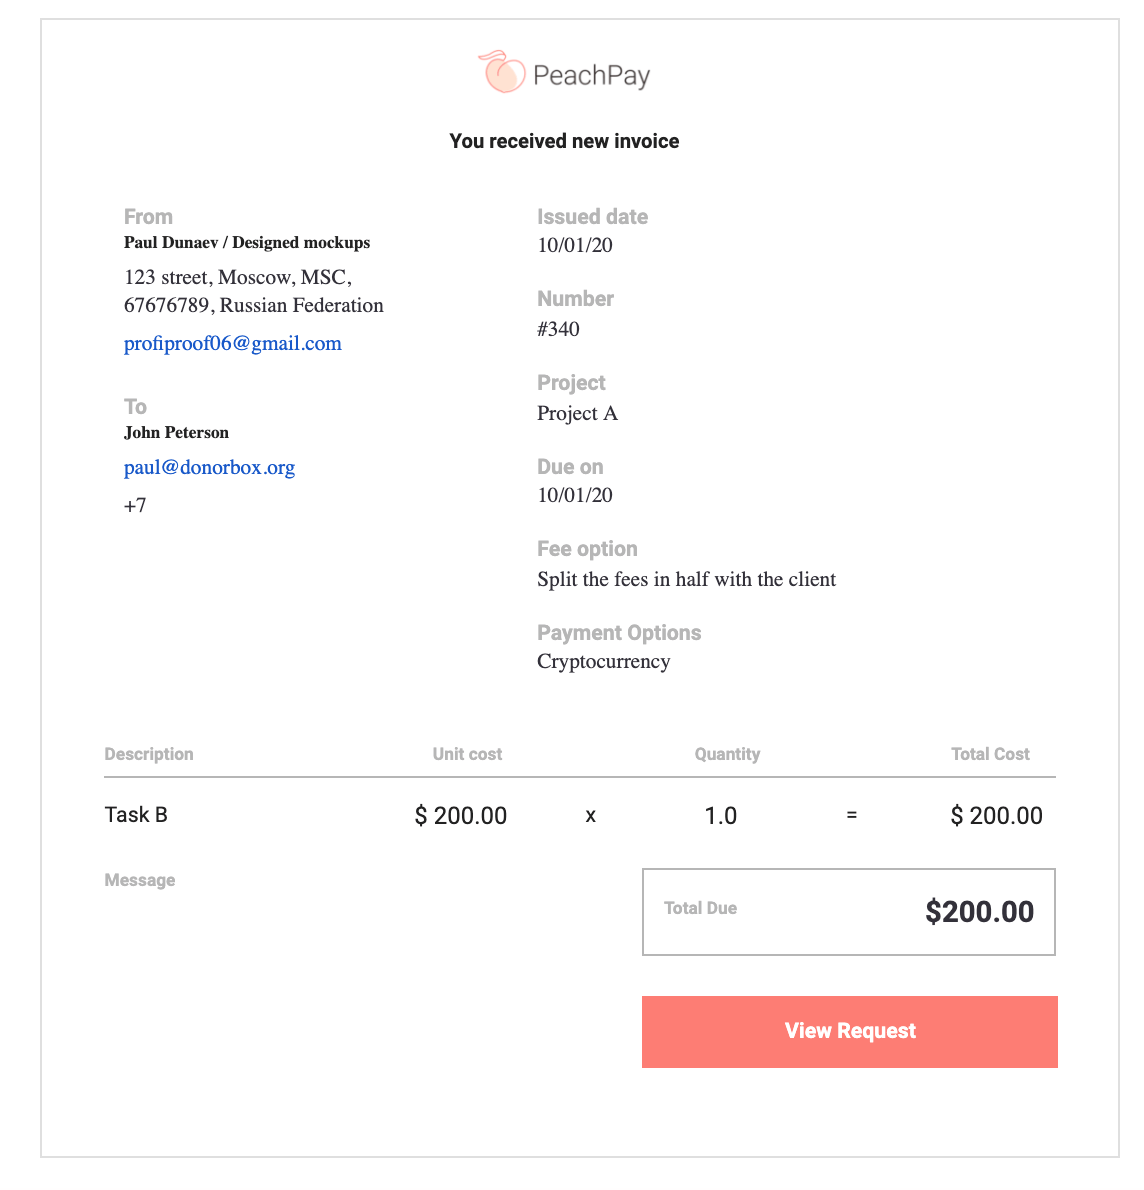
When view request is selected the customer is taken to a web page where they can select to pay in cryptocurrency via coinbase;
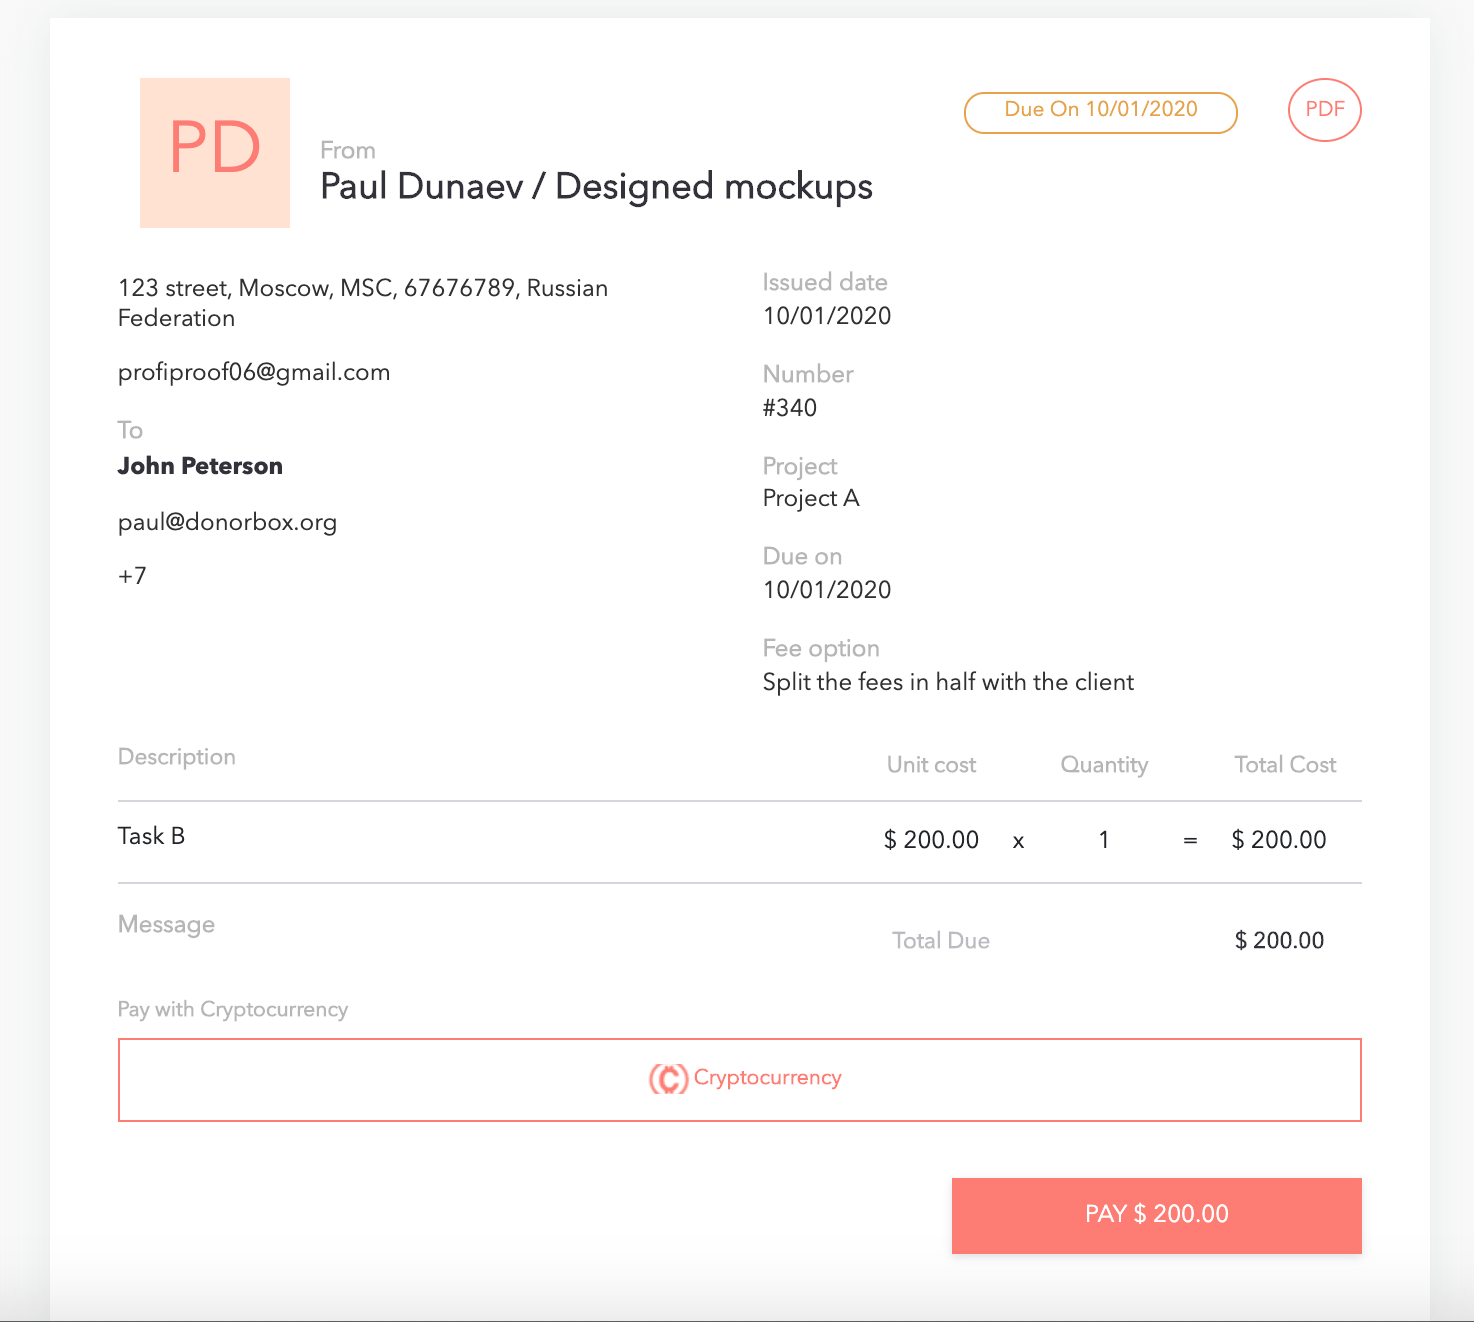
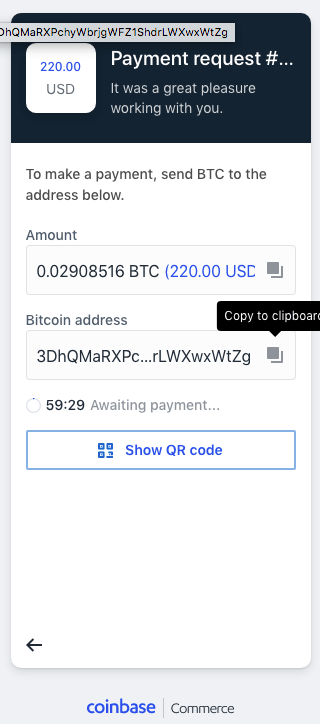
From there coinbase takes over and payment is accepted;
We really hope that reading this guide has helped you a lot to understand how to create or send an invoice to get paid in crypto.
Did you find this blog helpful for your business? Want more weekly insights to help grow your small business faster? Sign up below for our upcoming newsletter for free packed with curated tips and strategies to generate additional income!


